
Central midfield spacing sets the first options available once a team loses control of the ball during build-up. When the two central midfielders stand too close together, the routes out of pressure narrow quickly and the side must either play long or risk a turnover in a dangerous area. When they hold wider distances, lanes open for the holding player to drop between the centre-backs, yet this also creates gaps that opponents can exploit on the counter.
Supporters following matches can judge these choices by watching the distance between the two central players at the moment possession is lost. That single measurement often explains why one side regains the ball higher up and another is forced into a hurried clearance.
Reading spacing at the moment of turnover
The first step is to note the horizontal gap between the central midfield pair when the opposition wins the ball. A gap of roughly eight to ten metres usually allows the deeper midfielder to screen the centre while the second player steps to press. Smaller gaps force both players to move in the same direction, leaving space behind them for the opponent to run into.
Vertical spacing matters equally. If one midfielder sits several metres higher than the other, the lower player can cover the immediate pass while the higher one tracks the runner. When both sit on the same line, the team loses a layer of protection and must rely on the centre-backs to step out, which stretches the defensive line.
Pressing triggers tied to midfield lines
Pressing begins only when the spacing allows a clear path to the ball carrier without leaving an obvious outlet. The trigger is often the moment the opponent’s holding player receives with their back to goal and the two central midfielders are already positioned to cut off the short passes. If the spacing is too wide, the press arrives late; if too narrow, the opponent simply plays around the press.
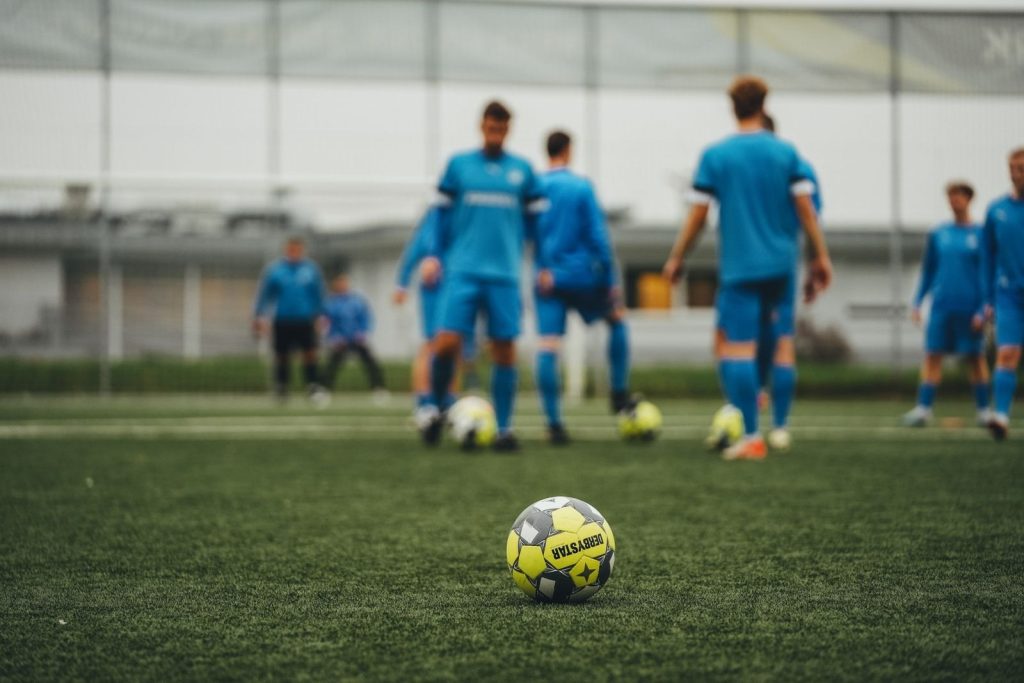
Teams that keep one midfielder slightly deeper create a natural trigger: the higher player presses while the deeper one holds the centre. This arrangement works best when the full-backs have already tucked in to cover the wide channels.
Adjustments in the defensive third
Once the ball moves into the team’s own half, the central midfielders must close the gap between them to protect the penalty area. The deeper midfielder drops to form a temporary back three, allowing the full-backs to stay wider. The higher midfielder then moves across to mark the nearest opponent, reducing the space available for quick combinations.
If the spacing remains too open at this stage, the opponent can play through the middle with one or two passes. The adjustment therefore happens before the ball crosses the halfway line, not after the danger has already developed.
Shape during the first phase of transition
The immediate reaction after losing the ball determines whether the side can regain possession in the middle third or must retreat. When the central midfielders are already close enough to cover the central lanes, they can step forward together to squeeze the space. When they are split, one player must first recover position, giving the opponent time to advance.
Full-backs play a supporting role here. If they have stayed wide during build-up, they can tuck in quickly to form a compact block. If they have pushed high, the midfield pair must cover extra ground until the full-backs return.

Wide-area options after breakdown
When build-up breaks down on one side, the central midfielders decide whether to shift across or hold their position. Shifting across leaves the opposite wing open for a long switch. Holding position forces the opponent to play through the middle, where the defensive line is stronger.
The choice depends on how many opponents are already committed forward. If two or more attackers have moved into the wide channel, the midfield stays central and lets the full-back handle the wide threat. If the opponent keeps numbers central, the midfield can drift slightly to support the press.
Recovering compactness in the middle third
Once the ball is cleared or turned over again, the midfield pair must restore their original spacing within a few seconds. This usually means the deeper player moves forward while the higher player drops back, re-establishing the horizontal line. Failure to do so leaves the team stretched for the next phase of play.
Coaches often instruct the holding midfielder to stay on the same vertical line as the ball during this recovery. That single reference point prevents both players from drifting to the same side and keeps the centre protected.
Boundaries of the approach
This reading of spacing works best against teams that build through the middle. Sides that rely on long balls from the goalkeeper reduce the value of midfield spacing because the ball bypasses the central area entirely. In those matches, attention shifts to the positioning of the centre-backs and the goalkeeper’s distribution habits.
The same limits apply in matches where one side dominates possession. When the opponent rarely loses the ball in their own half, the midfield spacing becomes relevant only during the rare turnovers that do occur. Observers therefore need to combine spacing analysis with an understanding of each team’s typical build-up tempo.